
On this page
- Step 1: Understand what you are able to create
- Step 2: Create your free account
- Step 3: Select Your Design Type
- Step 4: Understand the editor
- Step 5: Choose a template
- Step 6: Personalize your design.
- step :7 Add as well as format the text
- Stage 8: Incorporate visuals and designs
- Step 9: Organize the layout
- Step 10: Download and share
- Additional insights
- FAQ
Canva is an easy way to create professional-looking designs even if you have no previous experience in designing.This guide covers the entire process in 10 simple steps using the free plan.By the end of this guide, you will have created, downloaded, and shared your first graphic design.Do you want to know if using Canva is a good option for you? Read our complete review of Canva.
Step 1: Understand what you are able to create
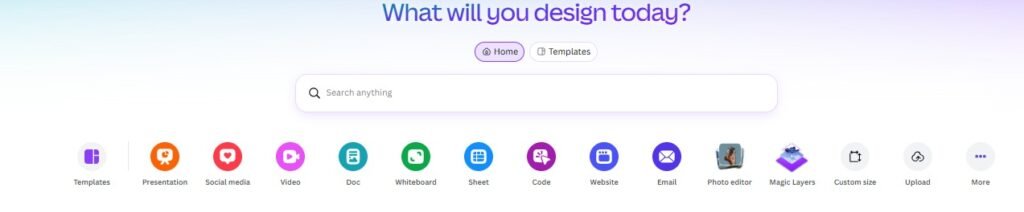
Canva can do much more than social media. It is possible to create presentations, flyers, posters, logos, business cards, documents, short videos, CVs, and even basic websites. By knowing which designs are available, you will be able to select the right format right away, as all designs will be at their required size.
Step 2: Create your free account
Go to canva.com and click the Sign up button. You can sign up using Google, Facebook, Apple or email. Canova then asks you what you’ll be using it for-personal, business, or educational-so that it can suggest relevant templates. You can change this later.
Step 3: Select Your Design Type
On the main page, create a new design and select a format from options like an Instagram post, presentation, or flyer. If you want a specific size, choose Custom size and enter the width and height.
Step 4: Understand the editor
The editor is divided into three parts: Left sidebar; templates, elements (shapes, icons, stickers), text, uploads, images, and applications. Main canvas; your design. You can click on any item you want to modify.Top toolbar; the settings for the selected item.
Undo using Ctrl/Cmd + Z. Your designs are saved automatically in Canva.
Step 5: Choose a template
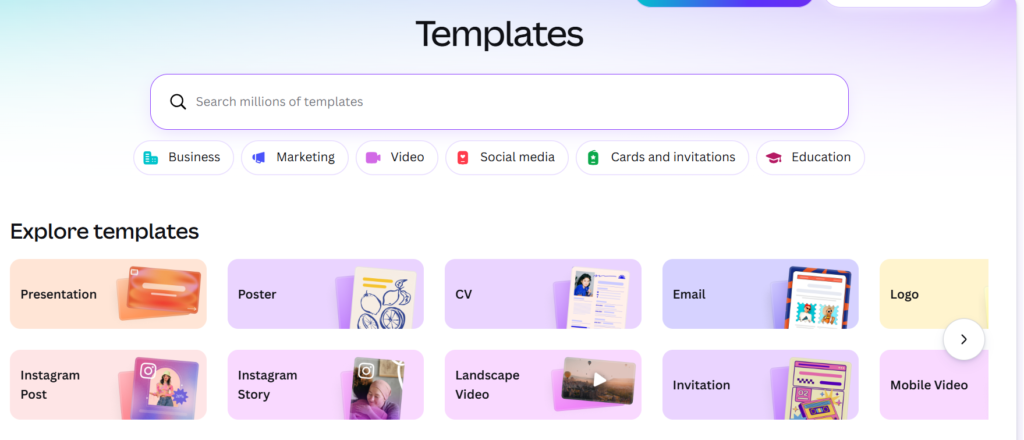
Templates are a great way to make things faster in getting a professional outcome. Find your subject (say, “bakery flyer” or “webinar announcement”) in the templates section and click on it to use it. Templates with a crown icon require Pro account while others are available for free.
Step 6: Personalize your design.
Adjust the color of your template to suit your imaginary brand image. Click on the item and then click on the box of colors in the toolbar. Alternatively, use the Styles feature in the Design tab to apply changes to the entire palette. Make sure to substitute the logo of your template with your company’s logo and remove any unnecessary elements.
step :7 Add as well as format the text
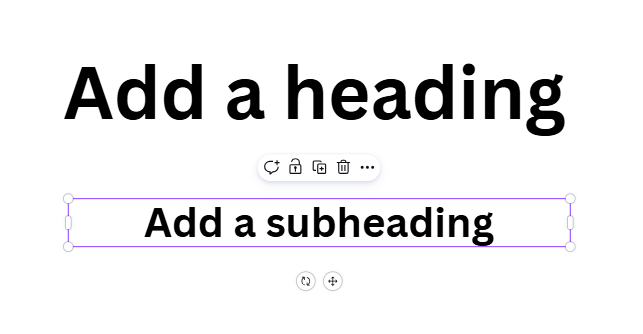
To modify the content of the text box, simply double-click on it. You can also click on the Text option to create a brand new text box. Ensure your text is easy to read: You should limit your design to just two type fonts. The headline font should be significantly more prominent than any other text in the design. Ensure high contrasts between the text and the background. Be concise with the text, particularly for social media graphics.
Stage 8: Incorporate visuals and designs
You may either look through the Photos and Elements categories in order to find pictures, icons, forms, and drawings, or you may either upload your files through the Uploads tab. In order to substitute one image in a template for another image, you should drag the newer image onto the older. If you’re a pro-user, then you can get rid of the background image instantly.
Step 9: Organize the layout
The layout you use should be neat as it makes it look like a formal presentation. Pink guide lines are shown by Canva whenever items are properly aligned. Utilize Position from the tool bar for aligning items. Also, it is important to leave empty spaces in the design to create some breathing room.
Step 10: Download and share
Click Share in the top-right corner, then Download. Choose the right format:
| Use | Format |
|---|---|
| Social media graphics with text | PNG |
| Photos and quick previews | JPG |
| Anything you’ll print | PDF Print |
| Videos and animations | MP4 |
Additional insights
Resize: Magic Resize by Pro enables a single design to be converted into several versions according to the requirements of various platforms.Brand Kit: save your colors, font types, and logos for effortless use in any design project.Folders: you can save your design projects according to different types of organizing.Mobile app: make changes to your designs right from your phone.
Need more assets, such as video templates and music? See our Envato review and Canva vs Envato.
To conclude
That’s how simple it can get: select a design format and use a template to make it your own. After a while, you’ll get the hang of it. You can use the free plan offered by Canva for the work described in the article, but you may want to think about Canva Pro if you become a frequent designer.
Frequently asked questions
Is Canva easy for beginners?
Yes. Canva is designed for people with no design experience. Starting from a template and changing the text and images is the quickest way to learn.
Do I need Canva Pro to follow this guide?
No. Every step works on the free plan. A few features mentioned as optional, such as Magic Resize and the background remover, need Pro.
What file format should I download?
Use PNG for social media graphics with text, JPG for photos, PDF Print for anything you’ll print, and MP4 for videos.