
The purpose of this article is to inform you about Canva, a web-based graphic design tool accessible to everyone. It allows users with no artistic training or experience to create and share high-quality designs, including social media posts, presentations, flyers, etc.; all using the thousands of professionally-designed templates, images, and font choices that are preloaded into the system.
To learn more about Canva read our Canva Review 2026: Ultimate User-Friendly Design
Canva is very easy to use – it is designed for everyone, regardless of their technical ability. There are many types of templates available, such as the above-mentioned social media posts, presentations, flyers, and many others. Canva has a ‘drag & drop’ user interface that allows you to make quick edits to your design and content so it will meet your specifications, just like you would use a word processing application. Whether you are a student creating an assignment or a small business owner creating promotional material, or a creative working on a project, you can use Canva to get quick and easy results when designing. If you would like to use advanced creative options, then you can upgrade to the Pro version for an additional fee for access to additional features and premium templates.
Ready to follow this guide step-by-step?
Create your free account on Canva here
Step 1 – Know What is Available to You in Canva
Before you create something in Canva, take some time to learn what it is and how to use it. Essentially, Canva is a web-based program (so you don’t need to download any heavy software), and everyone can use Canva! People have created products ranging from marketing materials (like flyers and presentations), to social posts and mobile-friendly documents, etc., in Canva.
Take a minute or two to think about your goal: are you promoting a school’s clubs with a poster, creating a professional presentation for work, or posting on social media as part of your marketing strategy? Understanding your purpose is key to selecting an appropriate template and ensuring your final product fits the platform accurately. Proper planning saves you time and frustration due to re-doing designs!
Step 2 Create your Canva account
In order to create your Canva account, follow these simple steps: go to Canva.com and click on sign up. You can either use your email or sign up through your Google or Apple account to create an account.
You will automatically receive access to thousands of templates, fonts, icons and images for free! This should be sufficient for all beginner users.
Once you have your account created, you will have access to use this platform from any laptop or tablet device as well as your smartphone.
If you are looking to get more advanced features like premium templates, additional images or tools to remove backgrounds, you can pay for a Pro subscription. Starting with the free version is a great way to learn how to use this service.
Step 3: Choose Your Design Type
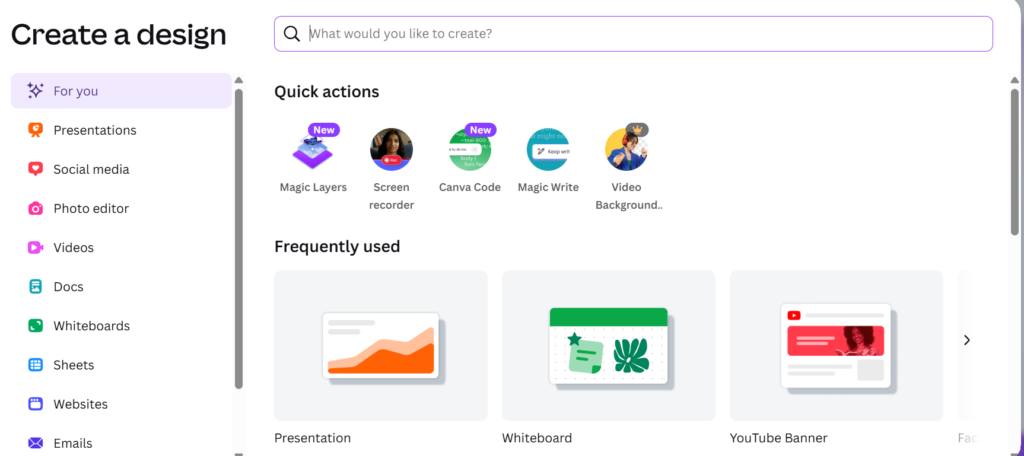
To create an image for an Instagram post, poster, presentation or flyer, choose Create a design then select whichever of the four designs best fits your project.
The four types listed already have dimensions set for you, so you won’t have to resize anything or contend with proportions being incorrect.
Having begun with the correct type means that your design is created quicker and gives it a professional appearance immediately due to it being made with one of the correct sizes.
If unsure of which type best fits your needs, use Canva’s suggestion templates which will allow for a similar, polished design no matter what you choose.
Step 4 Exploring the Canva Editor
The editor is where the magic happens. The left side of the editor contains tabs for templates, elements, photos, text, and uploads while the top tool bar has options for undoing and redoing actions as well as sharing and downloading your design.
The canvas is the main part of the Canva editor and is where you create your designs.
If you are just starting out, you will find several helpful features like snap-to-grid guides that can aid with positioning objects accurately (eliminating guesswork).
You can also move elements (forward and back) to create depth. Click around for a few minutes and you will see how much easier it is to create your designs.
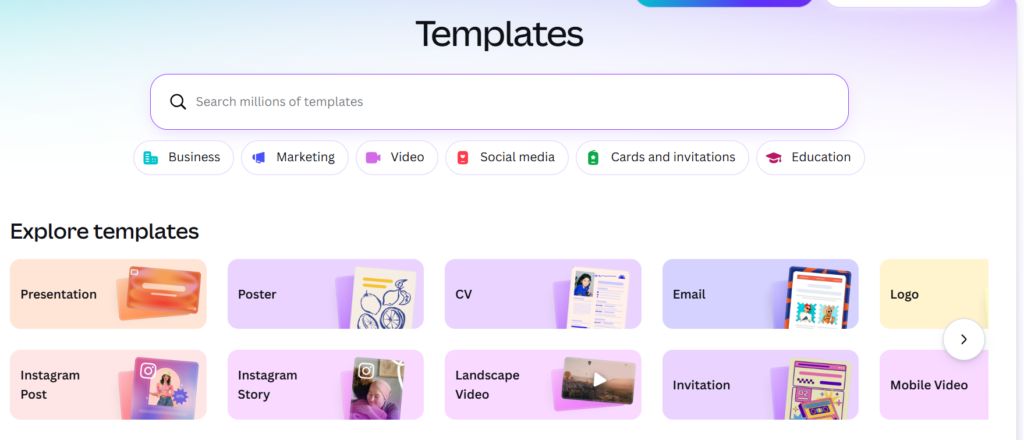
Step 5: Select the right Templates
Using a template is an easy way to create a great looking design quickly. Choose a template that supports your objective, such as a professional flyer for work, a clean layout for a presentation, or bold graphics/social media to attract attention.
Starting with a pre-made design doesn’t limit your creativity since you can customize anything and everything! Creating templates also helps beginners create a cohesive design by providing balance and consistency of design.
Step 6: Personalize Your Design
Change all of the example text, colors, and pictures in your template to reflect your unique branding. Adjust spacing, resize elements, and align everything so it looks neat and nice.
Keep it simple. A clean design will be far more effective than a crowded design with too many elements.
Choose colors and select fonts that match your theme and/or company brand. These small details can really enhance your completed design.
Step 7, insert and format text in Canva
using either the Text tool (headings, subheadings, or description). Be sure that your text is short and clear and only use two typefaces to ensure that it is readable. Use different sizes, colors, and alignments to create a balanced look.
Use bold and/or a larger font to highlight important information, but be careful not to overcrowd the canvas. Well-formatted text will help convey your message clearly and professionally.
Step 8, insert your photos and visual elements
using the Photos and Elements tools. Don’t forget to include your uploaded photos. Be sure all of your visual elements are of high quality and relate to your message and overall style.
Avoid clutter with white space. White space provides your design with room to breathe and looks more professional.
Step 9: Arrange and Align Your Layout Well
A well-formatted layout also contributes to good readability. Alignment tools, guides for space between objects, and grid layouts are all ways to make sure everything is placed in a consistent manner throughout your layout. Maintaining balance will help out a lot as well.
Another important factor is understanding how layers work – by placing objects in front of or behind each other, you will be able to add dimension and create a visual hierarchy.
Making these minor adjustments will help to give your design an overall professional and intentional appearance.
Step 10: Saving, Downloading, and Sharing
When using This design tool it’s being saved automatically while you work. Once you are finished, simply click the Download button and select a format (PNG or JPG for images; PDF for printable design; MP4 for animated designs). It is possible to share your designs directly with collaborators or publish them online. Always verify that the design is correct prior to downloading so that no mistakes occur.
If you choose to sign up for Canva Pro account, you will have access to perks such as Magic Resize, premium stock photographs, and access to advanced special effects. Depending upon usage, the monthly price of an individual user account is around $12.99; this should be seen as a very minor investment for serious designers or businesses.